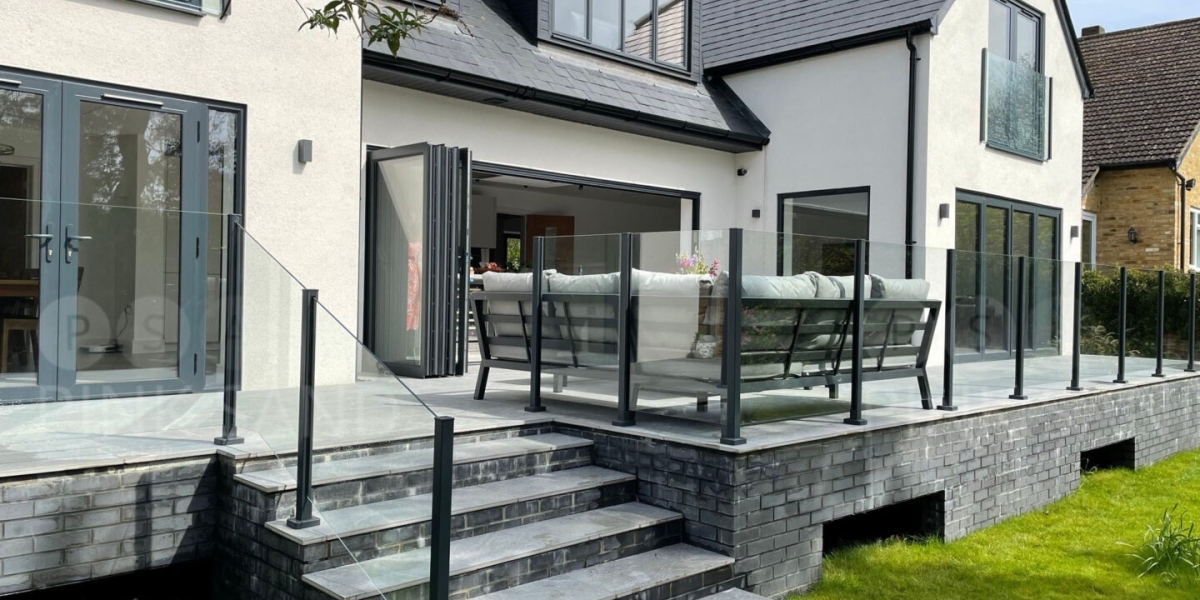
Bifold doors are a popular choice for homeowners looking to enhance their living spaces. They offer a seamless transition between indoor and outdoor areas, maximize natural light, and create an open atmosphere. Installing bifold doors may seem daunting, but with the right tools and guidance, it can be a manageable DIY project. This article will provide a step-by-step guide on how to install bifold doors, along with tips and considerations to ensure a successful installation.
Understanding Bifold Doors
Bifold doors consist of multiple panels that fold together when opened. They can be made from various materials, including wood, aluminum, and vinyl. Bifold doors are typically used for patios, closets, and as interior room dividers. Before beginning your installation, it's essential to choose the right type of bifold door that suits your space and aesthetic preferences.
Tools and Materials Needed
Before starting the installation process, gather the necessary tools and materials:
- Bifold door kit (including panels, tracks, and hardware)
- Measuring tape
- Level
- Screwdriver (both Phillips and flathead)
- Drill
- Saw (if adjustments to the door size are needed)
- Wood shims
- Safety goggles
- Step ladder
- Pencil
Step-by-Step Installation Process
Step 1: Measure the Opening
The first step in installing bifold doors is to accurately measure the opening where the doors will be installed. Measure the width and height of the opening at three different points (top, middle, and bottom) to ensure consistency. The largest measurement will determine the size of the bifold doors you need.
Step 2: Prepare the Opening
Before installation, ensure that the opening is clean and free of debris. If the opening has any imperfections, such as uneven walls or floors, use wood shims to level the surface. This will provide a stable base for the bifold door track.
Step 3: Install the Top Track
Begin by installing the top track for the bifold doors. Use a level to ensure it is straight and mark the screw holes with a pencil. Drill pilot holes into the marked spots, then secure the track in place using the screws provided in the bifold door kit. Ensure the track is flush against the wall and free of any obstructions.
Step 4: Install the Bottom Track
Next, install the bottom track in the same manner as the top track. Ensure that it aligns perfectly with the top track. The bottom track will guide the door panels as they fold. Again, use a level to ensure it is straight, and secure it with screws.
Step 5: Hang the Door Panels
With the tracks securely in place, it's time to hang the door panels. Start with one of the outer panels and insert the top pivot into the top track. Then, place the bottom pivot into the bottom track. Repeat this process for the remaining panels, ensuring that they are aligned and fold smoothly.
Step 6: Adjust the Doors
Once all the panels are hung, check for proper alignment and operation. Open and close the doors to ensure they glide smoothly along the tracks. If there are any issues, use the adjustment screws on the top pivots to raise or lower the doors as needed. This step is crucial for ensuring that the doors operate correctly and do not bind.
Step 7: Install the Handle and Lock
After adjusting the panels, install the door handle and lock according to the manufacturer’s instructions. This step typically involves drilling holes for Ideal Glass the handle and lock mechanism. Ensure that they are positioned at a comfortable height for ease of use.

Step 8: Final Checks and Clean-Up
Once the handle and lock are installed, perform a final check of the door operation. Open and close the doors several times to ensure they function smoothly. If everything is in order, clean up the installation area, removing any debris and tools.
Tips for a Successful Installation
- Choose the Right Door Size: Ensure that the bifold door you purchase matches the measurements of your opening. If adjustments are needed, consult the manufacturer’s guidelines for cutting the panels.
- Follow Manufacturer Instructions: Each bifold door kit may have specific installation instructions. Always refer to these guidelines for the best results.
- Work with a Partner: Installing bifold doors can be easier with two people. Having an extra set of hands can help with holding panels in place and ensuring accurate measurements.
- Consider Weather Stripping: If installing bifold doors that lead to the outside, consider adding weather stripping to improve insulation and prevent drafts.
- Regular Maintenance: After installation, regularly check the tracks for debris and ensure that the doors are functioning correctly. Lubricate the tracks as needed to maintain smooth operation.
Conclusion
Installing bifold doors can significantly enhance the functionality and aesthetic appeal of your home. By following the steps outlined in this guide and taking the necessary precautions, you can successfully install bifold doors that will provide years of enjoyment. Whether you are looking to create a more open space or improve access to your patio, bifold doors are a versatile and stylish solution. With careful planning and execution, your bifold door installation will be a rewarding DIY project that transforms your living space.